Stability & Level: The Two Non-Negotiables
Your base must support the full tub + water + bathers and sit perfectly level so the waterline is even. Concrete isn’t the only option—well-built gravel pads, paving, tiles, or a timber terrace can all work when properly prepared. For long-term performance, pair a solid base with smart energy measures from our guide on insulating outdoor hot tubs.
Recommended Base Materials
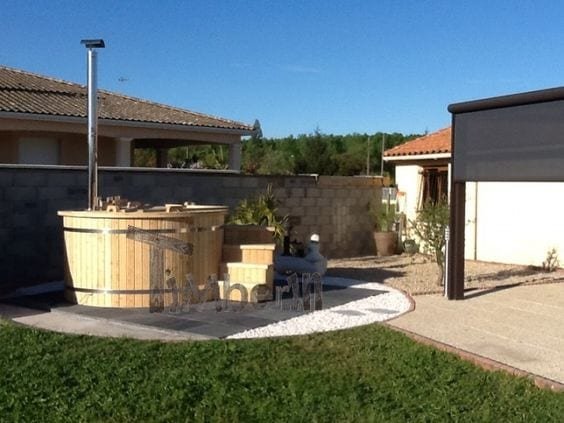
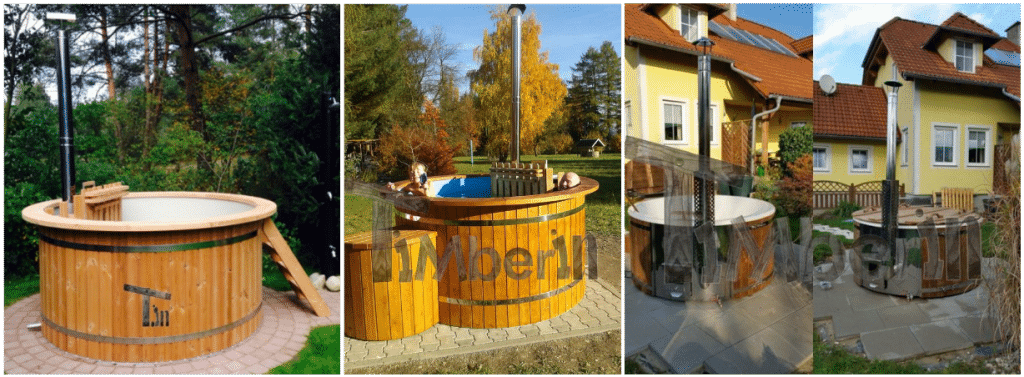
Popular choices include gravel, paving units, tiles, and wooden terraces. Your garden style and access typically decide which looks and performs best. A neat base also enhances the install—see real-world inspiration below and compare access planning with our built-in hot tub project.


Air Circulation (Especially for Wooden Tubs)
Raise the tub slightly so air can move under the base and moisture can evaporate. For fully wooden tubs, site the base in a sunnier spot—deep shade in humid areas promotes algae and mold. If you’re planning a sunken install, design drainage and access panels from day one.
Bottom Insulation
No factory bottom insulation? In colder regions, use a thicker, raised base to reduce ground heat loss. You can also add a polystyrene sheet under the tub—just maintain airflow and follow best practices from our eco-friendly hot tub tips.
Set Up a Wooden Hot Tub in the Garden – Finding the Ideal Spot
Think about integration, access and utilities. You’ll need a firm, level base; privacy; safe stove flue routing; and straightforward water/electric connections. Place the tub close to your terrace for convenience, but allow room for splash, cover handling, and maintenance.
We turned an unused green corner beside the terrace into a purpose-built pad—removing topsoil, installing kerbs, adding compacted gravel, and paving the surface. Explore more prep ideas and ownership tips in what to know before owning a hot tub.

Step 1: Remove plants and topsoil (we shifted ~3m³).
Step 2: Set lawn kerbs in concrete and level a gravel bed for drainage.
Step 3: Lay paving stones (approx. 16 m² for a 4×4 m area).


Costs vary by site and finish; labour took several days. For installs with massage systems/LEDs, plan a safe power route and filtration space—see electrical overview in our guide to required connections.


A Wooden Hot Tub, Neatly Tied into the Terrace
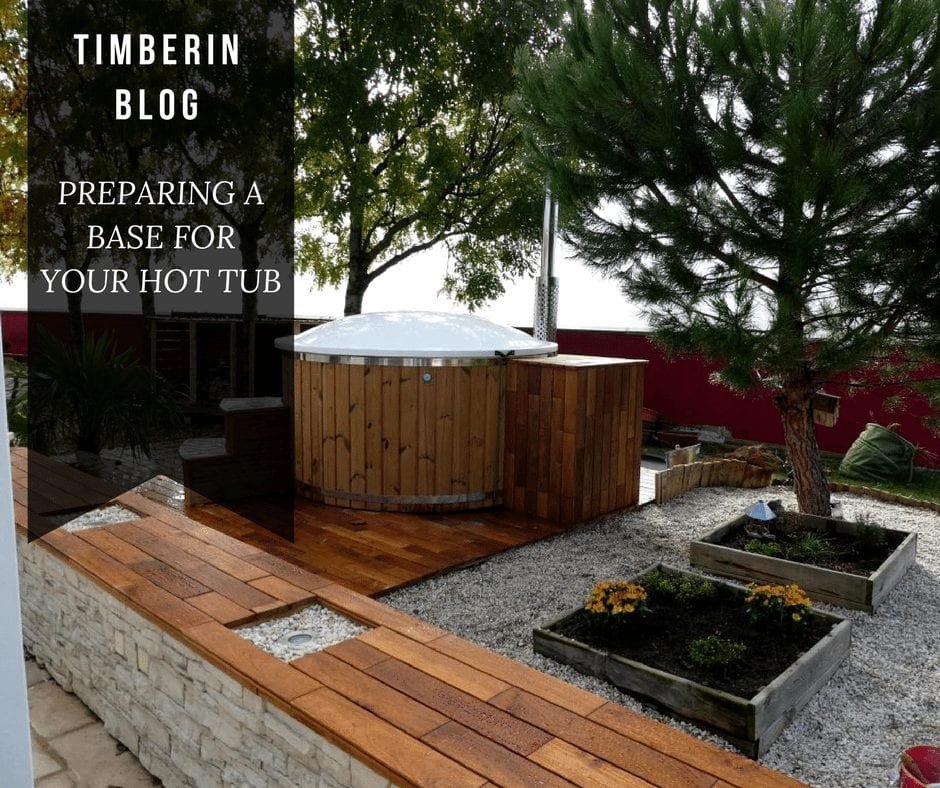
We added a short Bangkirai timber walkway to bridge a 40 cm height difference and wrap the tub edge. The round cut-out requires precision carpentry—budget accordingly or consider a simpler free-standing pad. If you prefer a flush look, review our sunken hot tub guide before you build.


Our tub includes whirlpool elements and LED lighting, so we allowed space for power and filtration (see also our fill & drain guide for safe water management and our winter care checklist).
Conclusion: Choose the Spot First, Then the Spec
The “perfect” location balances structure, drainage, access, and services. Complex surrounds (like curved decking) add cost and time; simpler pads are faster and cheaper. Decide where your tub will live before ordering—and explore heating options to match your base and usage.
Further Reading
- What to know before owning a hot tub
- Guide to sunken hot tubs
- Wooden hot tub leaking: causes & fixes
- Thermal insulation for outdoor tubs & saunas
- Eco-friendly hot tub tips
FAQ
What is the best base for a hot tub?
A firm, level and well-drained base such as compacted gravel with pavers, tiles on a stable sub-base, or a timber terrace. Match it to your garden and ensure the waterline sits level.
Do I need drainage under the hot tub?
Yes. Prevent water pooling under and around the tub. Use a free-draining layer (e.g., compacted gravel) and keep the base slightly raised for airflow.
Shade or sun—where should I place a wooden hot tub?
For wooden tubs, sunnier spots help discourage mold and algae. Always allow airflow beneath the tub.
Can I integrate the tub into my terrace?
Yes. Plan structure, access and services carefully. A curved deck cut-out looks seamless but needs professional carpentry. Review our sunken guide before building.
Do I need bottom insulation?
In colder regions, use a thicker, raised base or add polystyrene beneath the tub while maintaining ventilation. See our insulation guide for ideas.

